itk-wasm in a browser application via Webpack
This example demonstrates how to use itk-wasm in a web browser application built with Webpack. Find the full example in the itk-wasm/examples/Webpack directory of the GitHub repository.
Since we asynchronously download the itk-wasm JavaScript and WebAssembly Emscripten modules, a few extra configuration steps are required.
This example assumes you are creating a Node.js package. If you do not already have a package.json file, create one, first.
Add itk-wasm and the io-packages to your project’s dependencies:
npm install --save itk-wasm itk-image-io itk-mesh-io
Then, install Webpack-related development dependencies:
npm install --save-dev webpack webpack-cli webpack-dev-server worker-loader babel-loader '@babel/preset-env' '@babel/core' copy-webpack-plugin
Next, create a webpack.config.js file like the following:
const path = require('path')

const webpack = require('webpack')
const CopyPlugin = require('copy-webpack-plugin')

const entry = path.join(__dirname, 'src', 'index.js')
const outputPath = path.join(__dirname, './dist')
const itkConfig = path.resolve(__dirname, 'src', 'itkConfig.js')

module.exports = {
  entry,
  output: {
    path: outputPath,
    filename: 'index.js',
    library: {
      type: 'umd',
      name: 'bundle',
    },
  },
  module: {
    rules: [
      { test: /\.js$/, loader: 'babel-loader' }
    ]
  },
  plugins: [
    new CopyPlugin({
      patterns: [
        {
          from: path.join(__dirname, 'node_modules', 'itk-wasm', 'dist', 'web-workers'),
          to: path.join(__dirname, 'dist', 'itk', 'web-workers')
        },
        {
          from: path.join(__dirname, 'node_modules', 'itk-image-io'),
          to: path.join(__dirname, 'dist', 'itk', 'image-io')
        },
        {
          from: path.join(__dirname, 'node_modules', 'itk-mesh-io'),
          to: path.join(__dirname, 'dist', 'itk', 'mesh-io')
        }
    ]})
  ],
  resolve: {
    fallback: { fs: false, path: false, url: false, module: false },
    alias: {
      '../itkConfig.js': itkConfig,
      '../../itkConfig.js': itkConfig,
    },
  },
  performance: {
    maxAssetSize: 10000000
  }
}
Replace src/index.js by your Webpack entry point. Replace ./dist/ and the output filename with where you want Webpack to place the generated JavaScript bundle.
The babel-loader rule will transpile JavaScript from the latest language syntax to a syntax supported by existing browser clients. Configure the target browsers to support with a .babelrc file like the following:
{
  presets: [
    ['@babel/preset-env', {
      targets: {
        browsers: ['last 2 versions'],
      },
    }],
  ],
}
The itk-wasm Emscripten modules are loaded and executed asynchronously and on demand. This means the client only download the content it needs and the user does not experience interruption of the main user interface thread during computation. However, a few extra configuration steps are required since the modules are not bundled by Webpack.
The CopyPlugin copies itk-wasm Emscripten modules to distribute along with your Webpack bundle. In this example, we copy all image-io, and mesh-io. In your project, you may want to copy only the image-io or a subset of the image-io, based on your needs. We also copy the web-workers, which asynchronously perform IO or run processing pipelines in a background thread.
To change the location of the itk-wasm web worker and Emscripten modules, set the Webpack resolve.alias setting for an itkConfig.js module so the bundle will use our included web worker and io WebAssembly modules. The src/itkConfig.js for this example is:
const itkConfig = {
  pipelineWorkerUrl: '/itk/web-workers/min-bundles/pipeline.worker.js',
  imageIOUrl: '/itk/image-io',
  meshIOUrl: '/itk/mesh-io',
  pipelinesUrl: '/itk/pipelines',
}

export default itkConfig
Define commands to build the project or build the project and start a local development web server in the scripts section of the package.json file,
  "scripts": {
    "build": "webpack --progress --colors -p",
    "start": "webpack-dev-server --content-base ./dist/ --watch-content-base"
  },
Build the project with
npm run build
To start the development web server, run
npm run start
Testing with Cypress
This section described how to configure browser-based testing with the Cypress
First, install Cypress and the start-server-and-test package.
npm install --save-dev cypress start-server-and-test
The start-server-and-test tool can start our development server for testing with Cypress.
Create directories to house our tests and test data:
mkdir -p cypress/integration cypress/fixtures
Provide a test dataset:
cp /path/to/cow.vtk cypress/fixtures/cow.vtk
Create our test script at cypress/integration/load_data_spec.js. The test files names should end in *_spec.js.
describe('Load data', () => {
  it('successfully loads a mesh', () => {
    cy.visit('http://localhost:8080/')
    cy.fixture('cow.vtk', null).then((cowBuffer) => {
      cy.get('input[type=file]').selectFile({ contents: cowBuffer, fileName: 'cow.vtk' })
      cy.get('textarea').contains('"numberOfPoints": 2903,')
    })
  })
})
Then, specify npm scripts to develop and debug the tests and run them in an automated way.
  "scripts": {
    "start": "webpack-dev-server --mode development --static ./dist/",
    "cypress:open": "pnpm exec cypress open",
    "cypress:run": "pnpm exec cypress run",
    "test:debug": "start-server-and-test start http-get://localhost:8080 cypress:open",
    "test": "start-server-and-test start http-get://localhost:8080 cypress:run"
  },
Note that with webpack-dev-server we need to use http-get with start-server-and-test.
To develop or debug tests, run
npm run test:debug
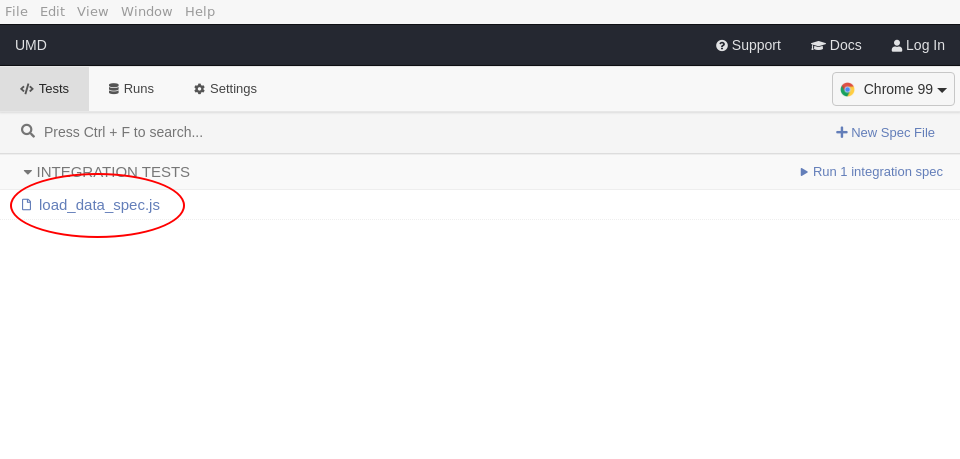
This will open Cypress. Select the test to run:
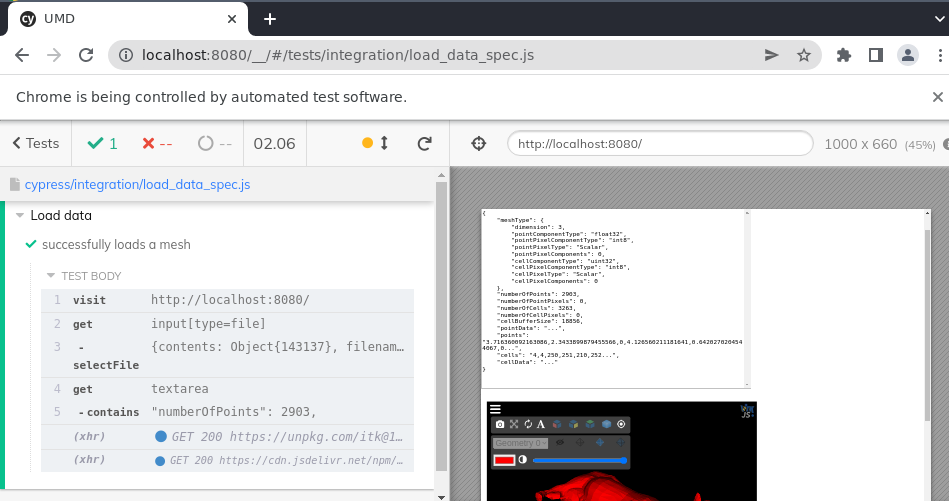
This will load the selected browser to see the test status and web page that is tested. You can also open the browser’s development console.
To run the tests during continuous integration:
npm run test
This will output the tests results in the console:
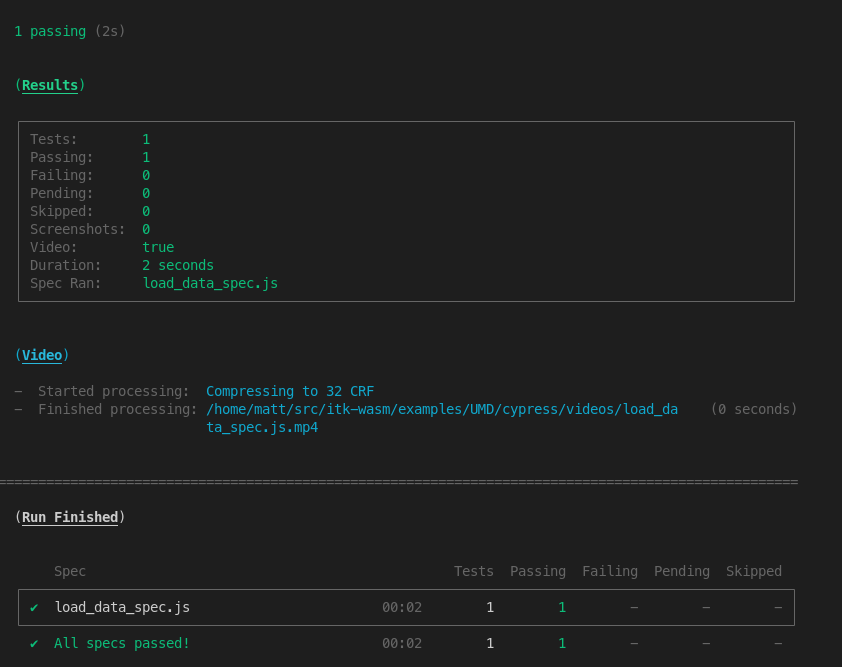
And produce a video of the result at cypress/videos/.
